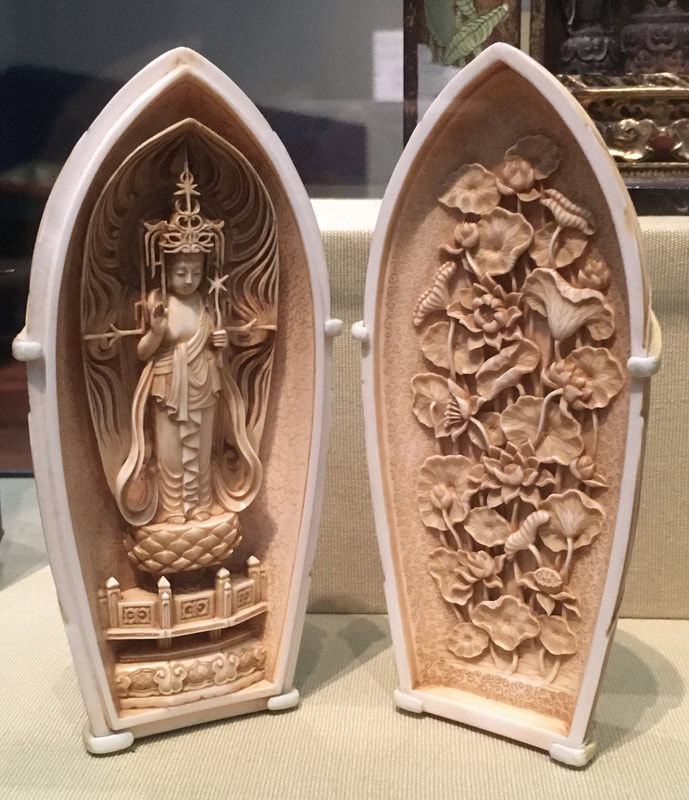
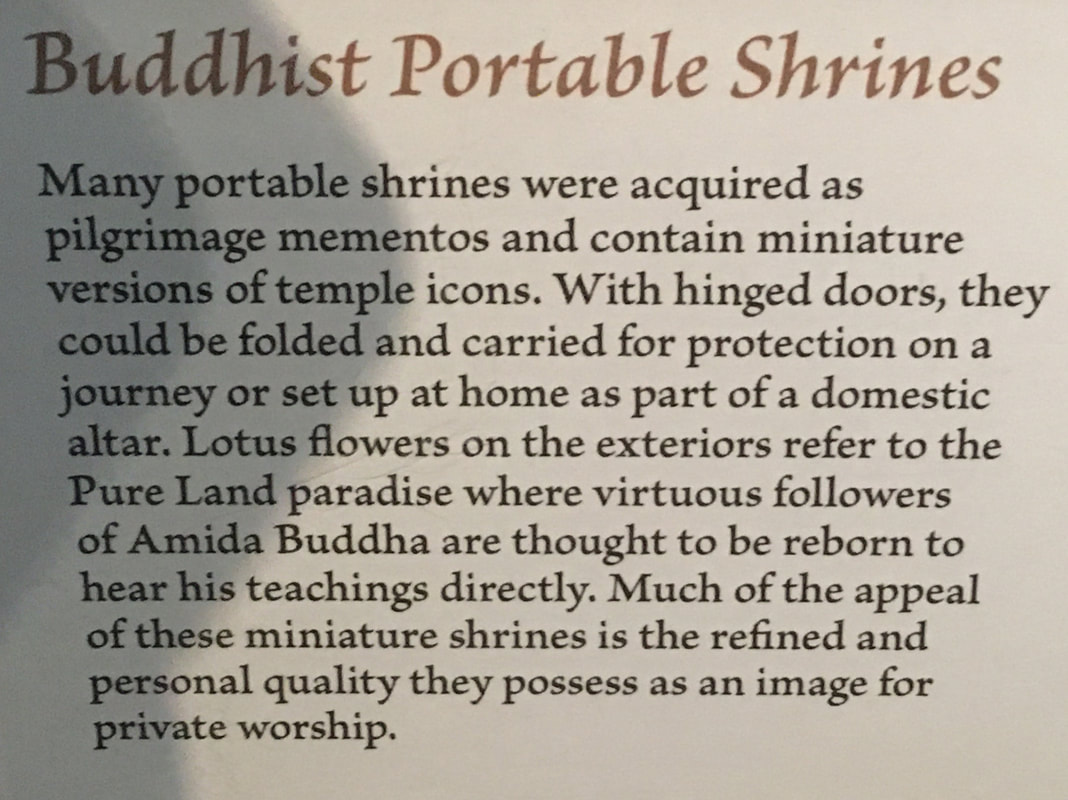
  Consider the following: - What would be in your shrine? - How would you simplify your beliefs into a pocket sized shrine? - How would you decide what to include & what not to include? - What materials would you use? - How detailed would you make it? - What would you do to make it portable? - Where would you take it? How would you decide that? - Does your religion or belief system have shrines? Are they incompatible with your belief system? Project: Create a pocket sized shrine that encapsulates what you deem important for your belief system. Focus on simplifying belief system to a few core ideas & symbols. Follow up Activity: Discuss the role of a belief system or moral compass. **Accommodations: - For students who feel they don't ascribe to a belief system, consider what is important to you? Do you have any mantras or general philosophies you relate to? If you had a creed what would it be? 
0 Comments
During the first week of school, have students bring one piece of colored paper to class.
Paper Requirements: - it can be any type of paper (i.e. construction paper, scrapbook paper, newspaper, paper that has been colored with paint, pencils, markers, etc., wrapping paper, a page from a magazine or book, etc.) as long as it has a color other than plain black or white - paper should be 75 percent one color - preferably an 8.5 inches by 11 inches sized piece of paper Potential colors to bring: - favorite color - most hated color - colors that elicit emotion (i.e. boring, perplexing, confusing, fascinating, etc.) After students have written their names on the back of the color they brought, place all the colors together on a white board or large space where they will all fit. As a class assess the color to answers these questions about all the colors everyone brought in: 1) What colors did everyone bring? Use the available colors to create a color wheel or rainbow 2) What kinds of paper did everyone bring? 3) How many color are on each page? Is it 75 percent one color? Are colors mixed? Are there any gradients? 4) Where did everyone find their color? 5) Why this color? Follow up activities: - Use paint to match color; easy way to transition into color theory -Project with paper texture -Create a color palette or altered color wheel based solely on the colors brought to class **Accommodations - If students are unable to bring a piece of colored paper to class, have them first check their backpacks to see if they have any paper they can use for the activity with them, if they still are unable to find colored paper for the activity students can then look around the classroom to find colored paper that fits the requirements. -Potentially valuable lesson to have during Pride Month to talk about the benefit & value of everyone being different & the added perspective that brings to our classroom Today we will be playing the beta version of our games and giving each other feedback. Before we get started, make sure your game is published by clicking the SHARE button in the top right hand corner.  Now that your game is published we are going to take turns playing and critiquing each others games. Our game is to acknowledge what things are successful and what can be improved upon. These are rough drafts so keep that in mind when critiquing someone else's game.
For the critique you will need to answer 4 important questions. 1) Who's game are you critiquing? 2) Does this game include instructions on how to play the game? 3) What are 2 things this game does well; good design, fun to play, challenging without being impossible, intuitive controls, etc.? What are 2 things that could be done to make this game even better? 4) If you were to rate this game out of 5 stars, what score would you give it and why? Any other helpful feedback! 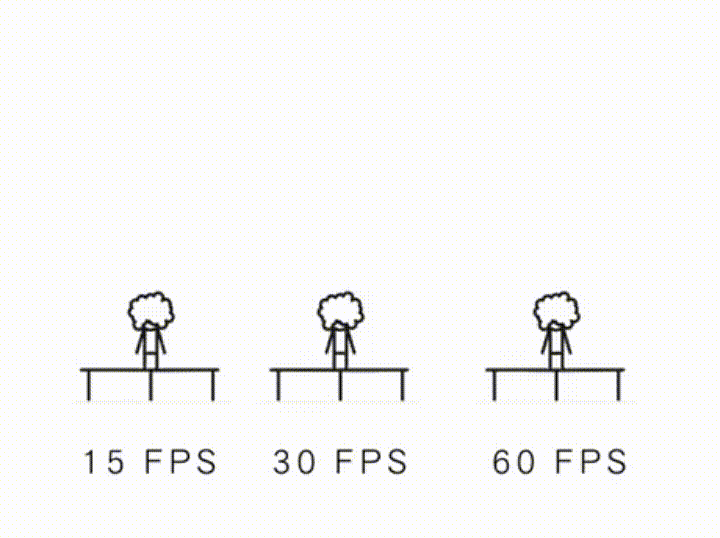 Just remember that your animations have to be at least a minute long, so at 10 frames per second for 60 seconds that would be 600 photos! The more photos you take and the more subtle your movements are the smoother your animation will look.
You should be able to use OSnap to create your animation, depending on how many photos your animation will consist of. When saving your final animation to your phone here are the steps you will need to go through:
1 click on the EXPORT ICON, the rectangle with the arrow 2 select CREATE VIDEO 3 click RENDER VIDEO 4 then select SHARE VIDEO, then choose the option CAMERA ROLL Your animation should be saved as a video in your camera roll or where photos are stored on your phone. You should be able to email or share your video from your camera roll. When designing your game here's a handy to do list of things to consider:
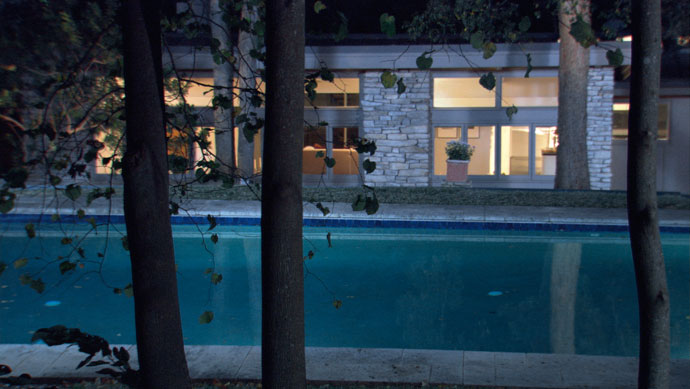
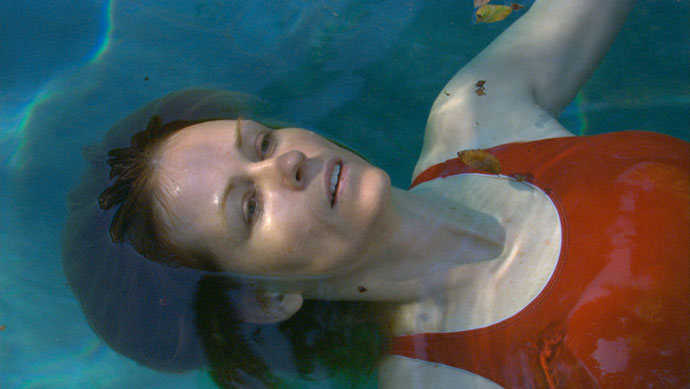
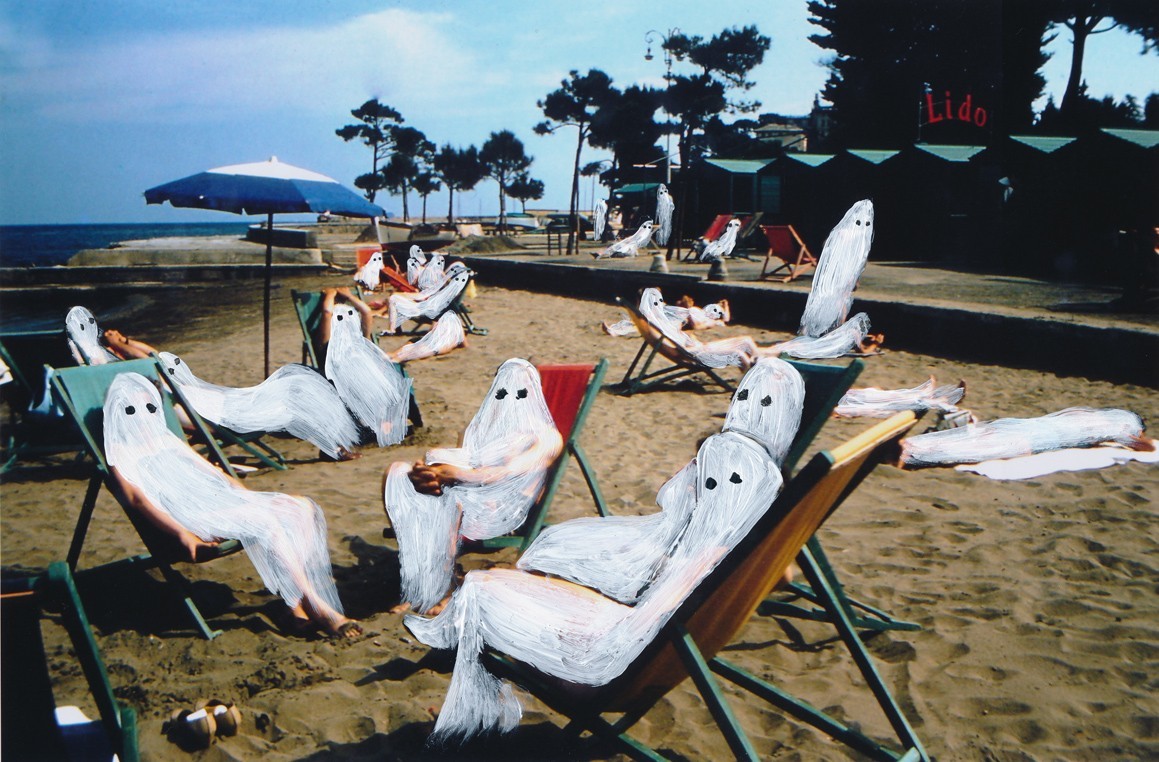
Working in Illustrator -Finish creating your character in Illustrator -Design a backdrop or setting, appropriate for your game in Illustrator -Consider if you will need any 'props' or other game elements in your game -Design & Save your character doing 4-5 different poses appropriate for your game Brainstorming -What is your character's goal or objective in your game? -Where does your game take place? -What will your character interact with? objects? other characters? -How do you want characters to move? Working in Scratch -Create a scratch account so you can save progress on any game you are creating -Watch some tutorials to get familiar with the platform we are using to design our games -Look up games with narratives, game play, or ways of moving characters that are similar to what you want your game to be like. You can 'look inside' games designed in scratch & see how other people create their games Oh man thats a lot! But I believe in you! As for Game Requirements: -You need to design all the visual elements in your game; the background, characters, 'props', etc. Anything that a player sees should be created by you -Your game should include a start screen with instructions on how to play your game, both how to move your characters and what the character's objectives are As always feel free to ask me any questions you might have! Teresa Hubbard / Alexander Birchler - House with Pool Walt Disney + Salvador Dali, Destino Prada Ad Campaigns
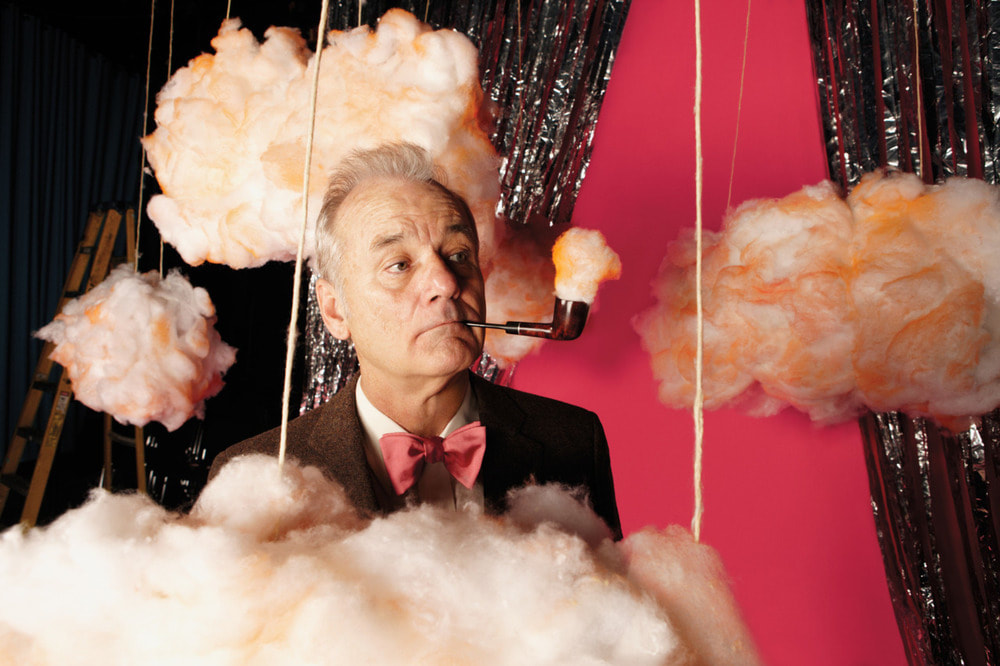
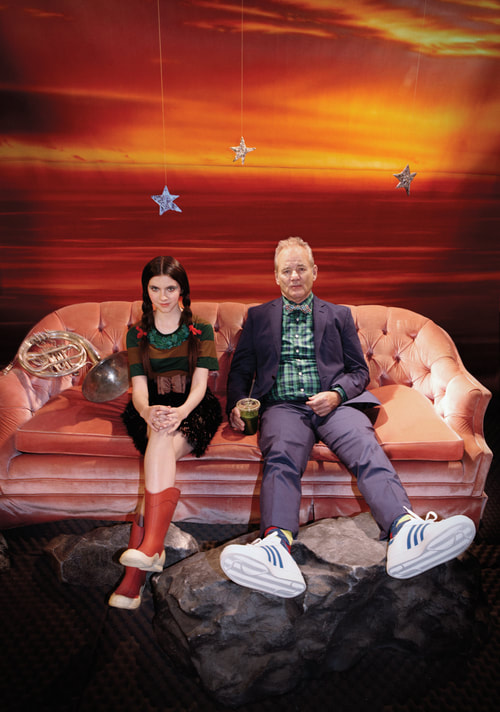
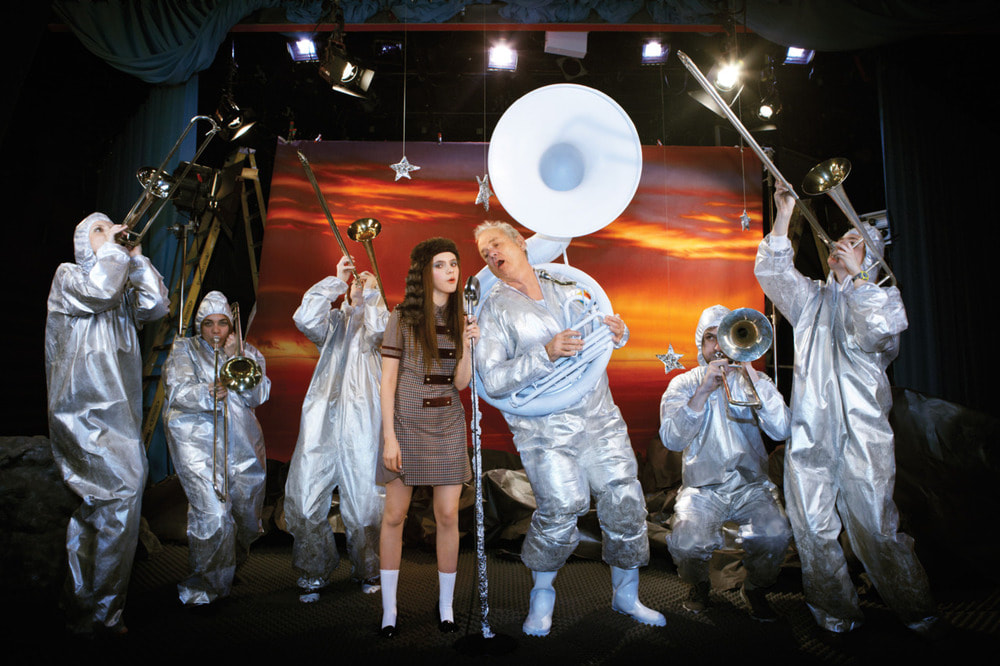
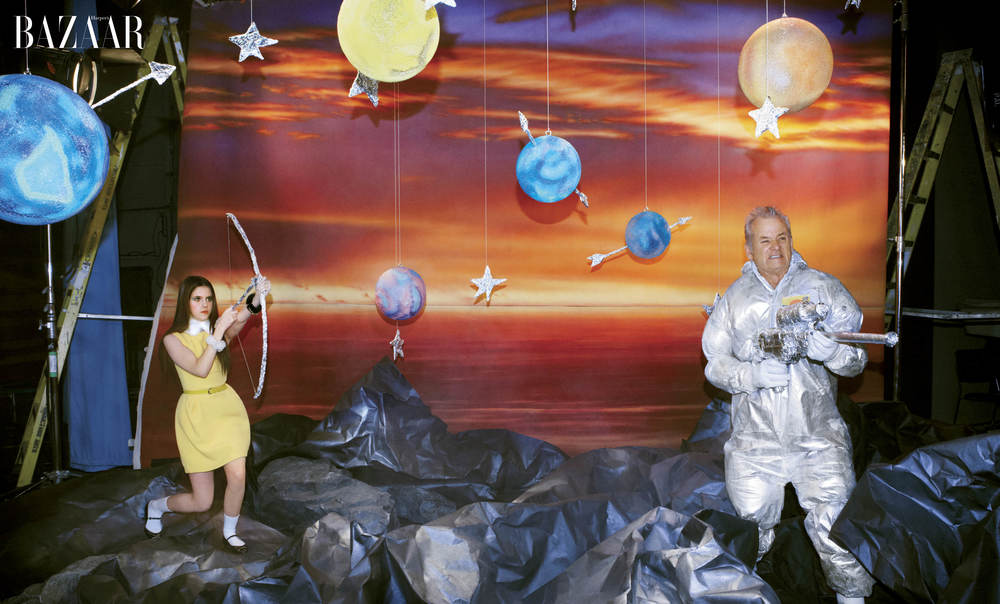
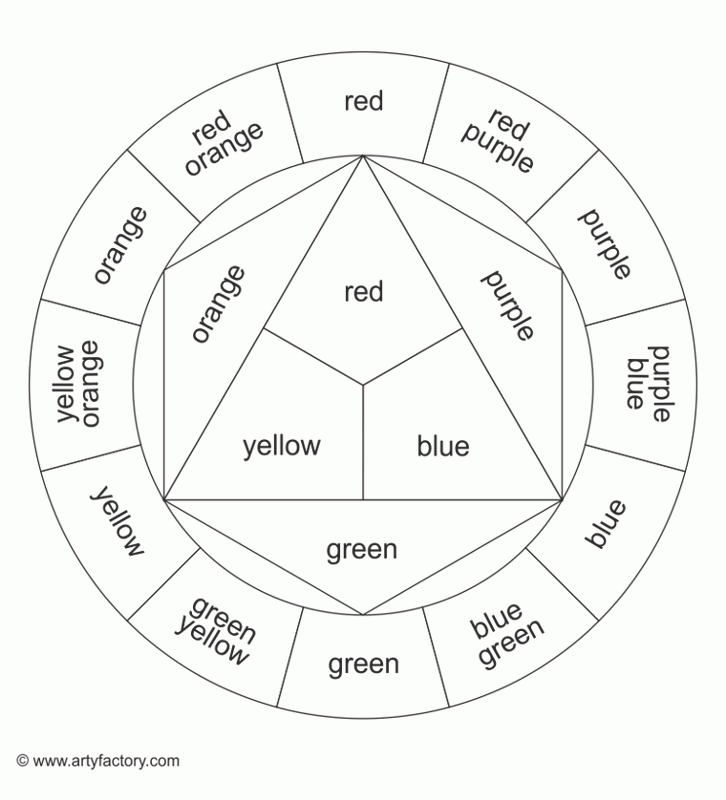
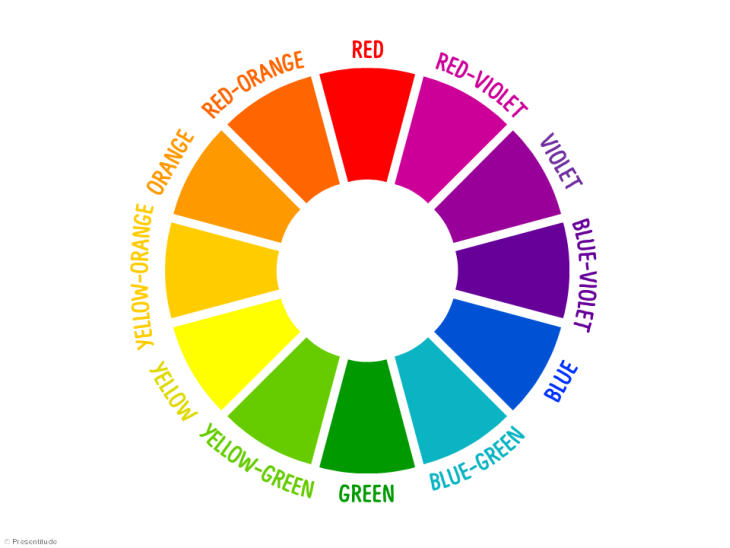
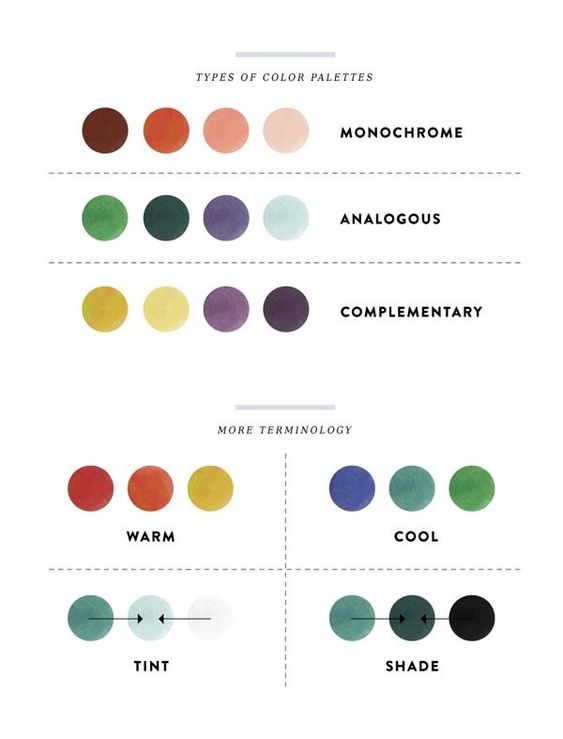
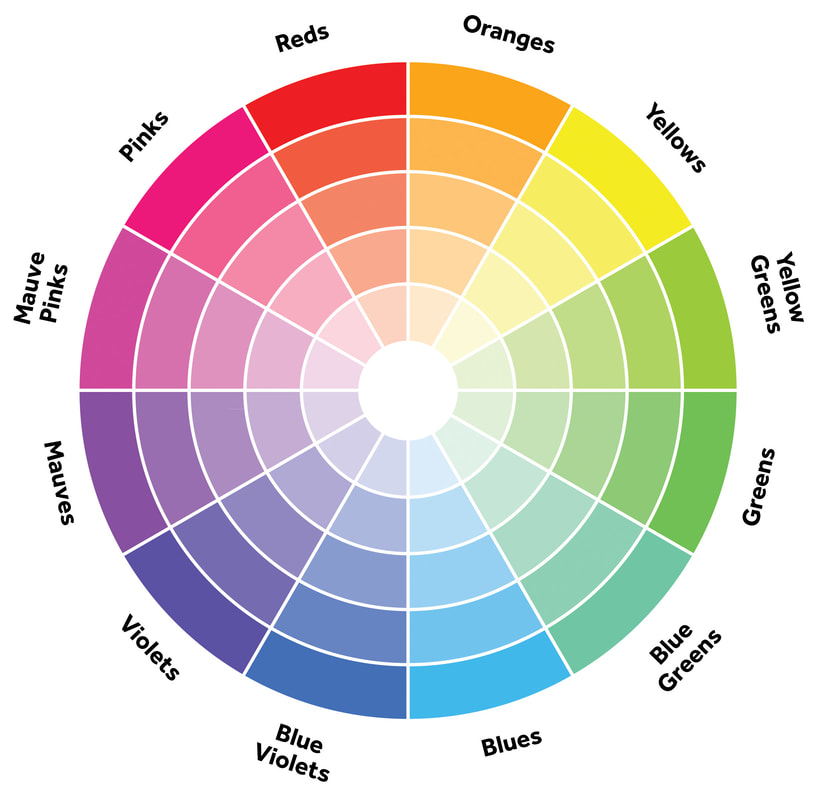
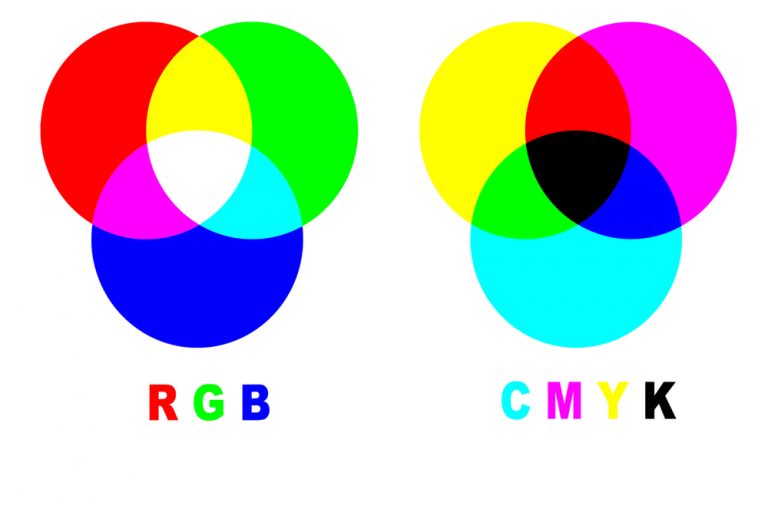
Harper's Bazaar; Moonrise Kingdom Fashion Campaign Important Color Vocabulary: PRIMARY COLORS - PIGMENT(R,Y,B), PRINT(C, M, Y, K), LIGHT(R, G, B) SECONDARY COLORS TINTS TERTIARY COLORS SHADES MONOCHROMATIC HUE COMPLIMENTARY INTENSITY/SATURATION ANALOGOUS "Each person has something he can do easily and can't imagine why everybody else has so much trouble doing it." - Kurt Vonnegut   If you would like to turn your drawn character into a vector in Adobe Illustrator here are a few steps you can follow. *The smoother and bolder the lines in your character drawing the better they will show up in your vector* Take a picture or scan the drawing you want to eventually turn into a vector. If the image has extra information or isn't super clear, open the picture of your drawing & edit it in Adobe Photoshop. You will also probably want to lower the saturation of your image to change your picture to a black & white image. You can then export your edited photo as a .jpeg. Once you've gone through these few steps you can open your edited image in Adobe Illustrator. Then treat your image like any other image you would want to turn into a vector; go to object>image trace> make & expand. Voila! You should have a vector based on your original drawing. *Just remember that turning images into vectors can be a unpredictable process so your end product vector may be different that you originally imagined.
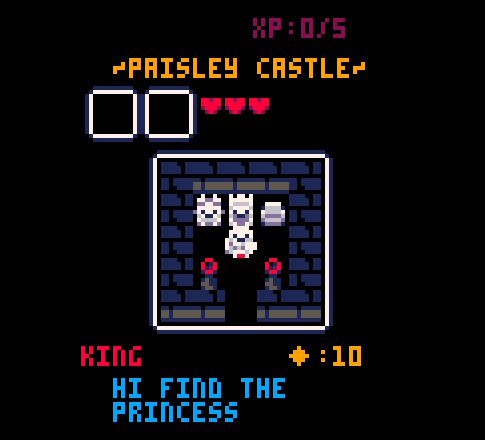  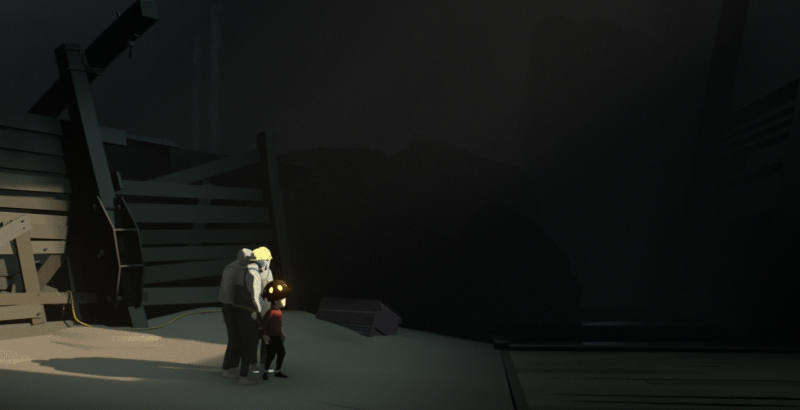
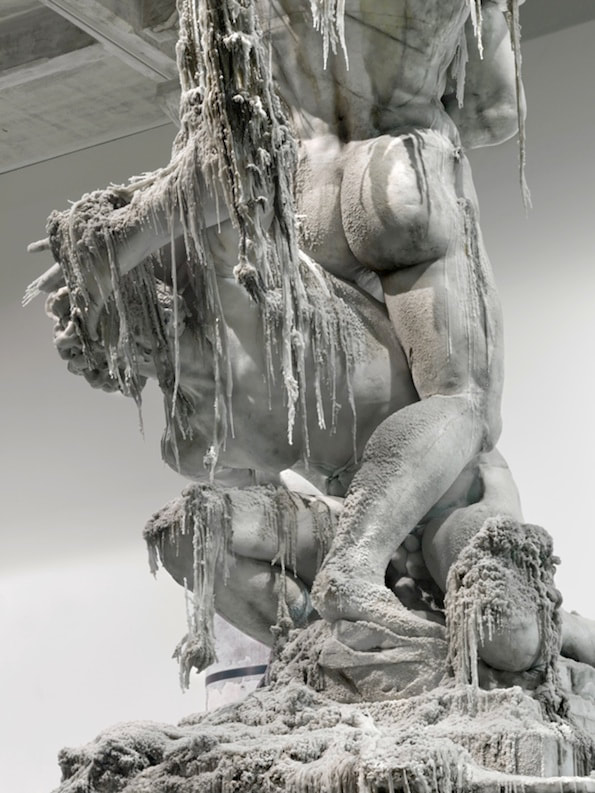
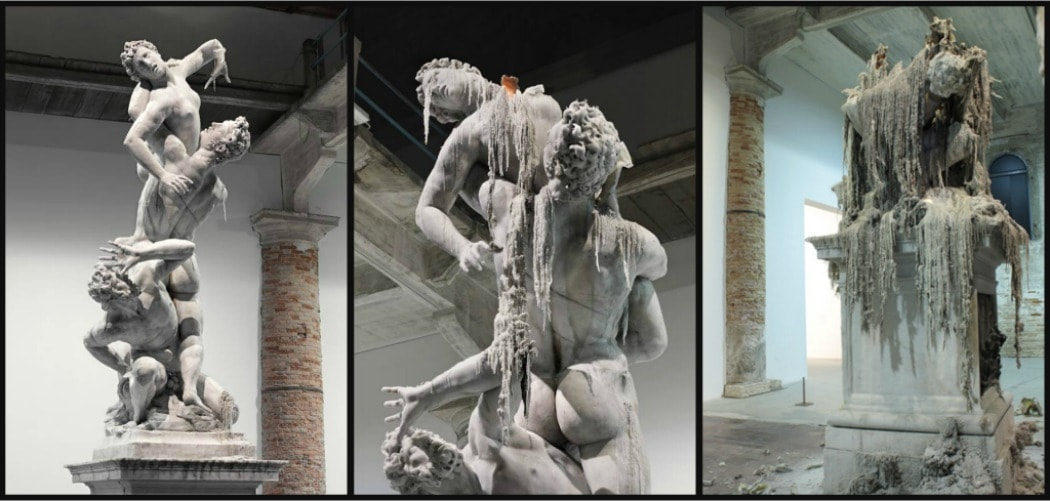
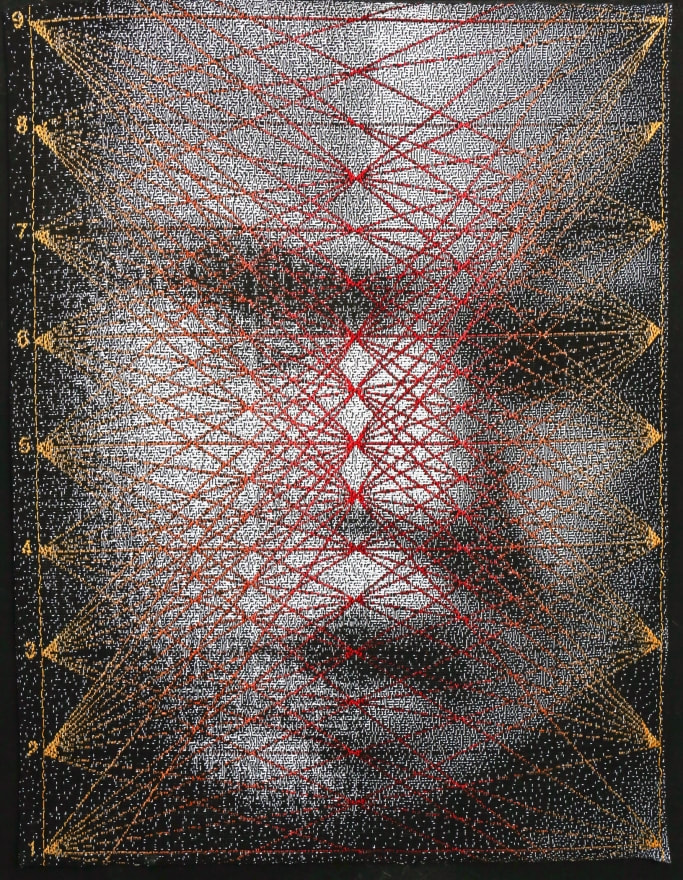
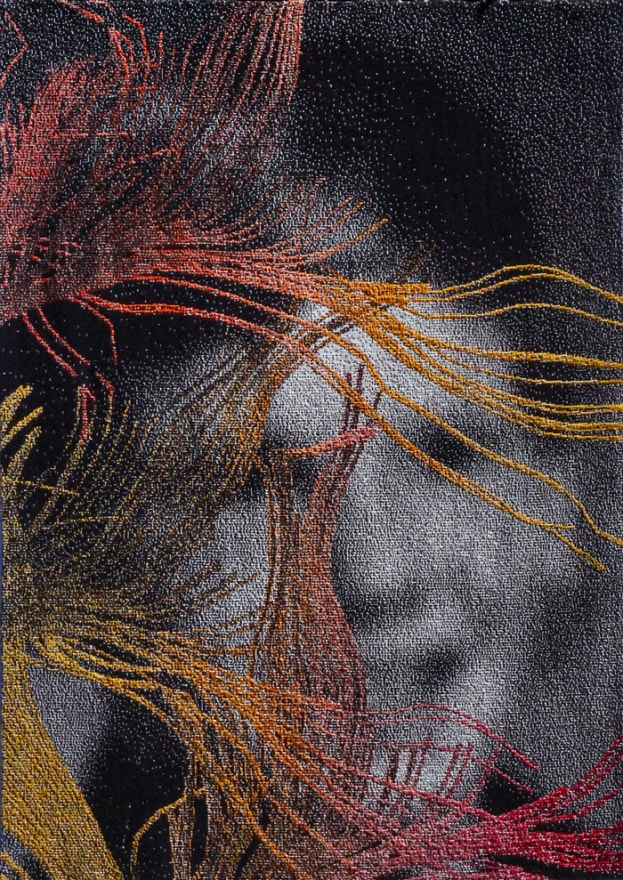
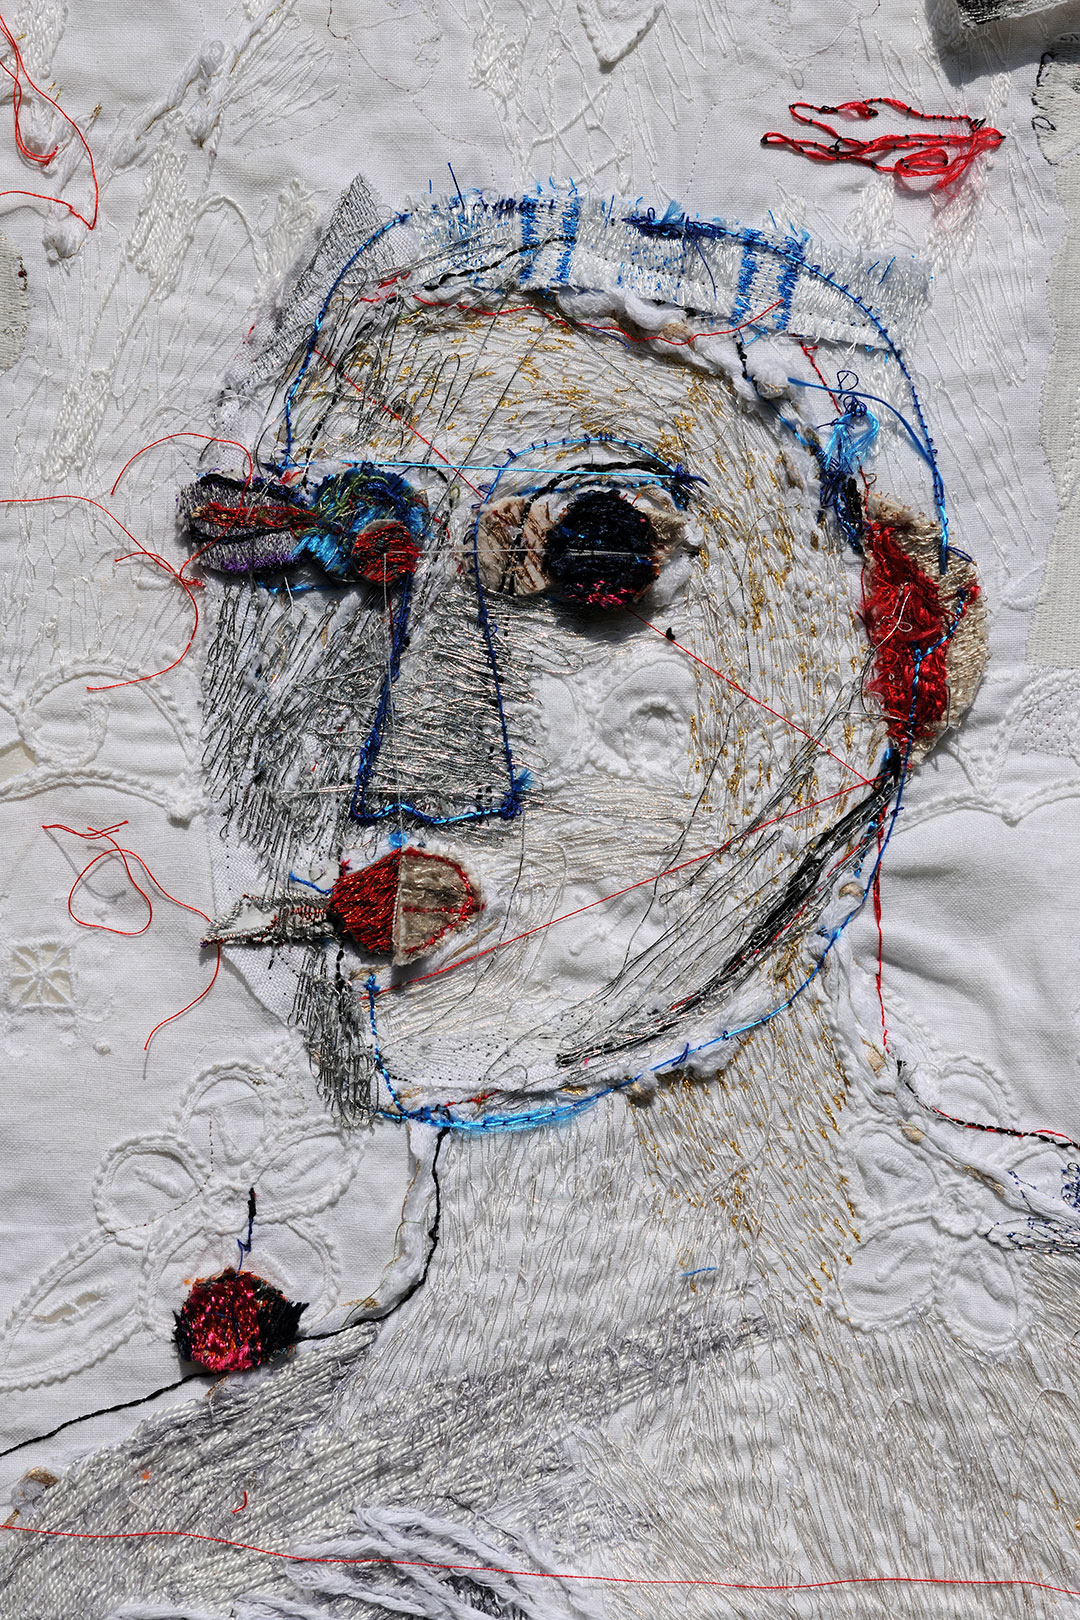
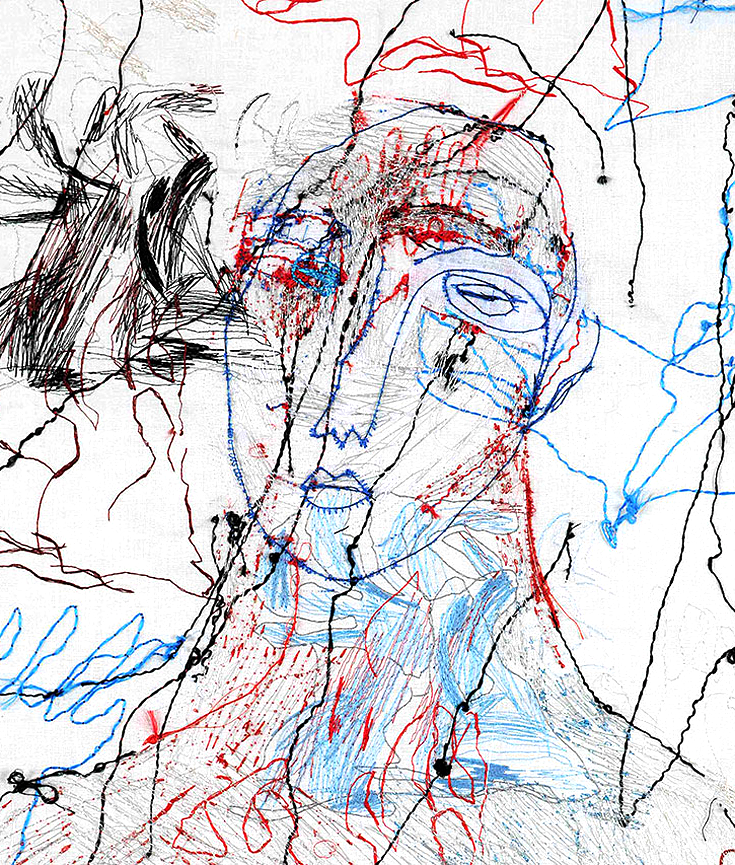
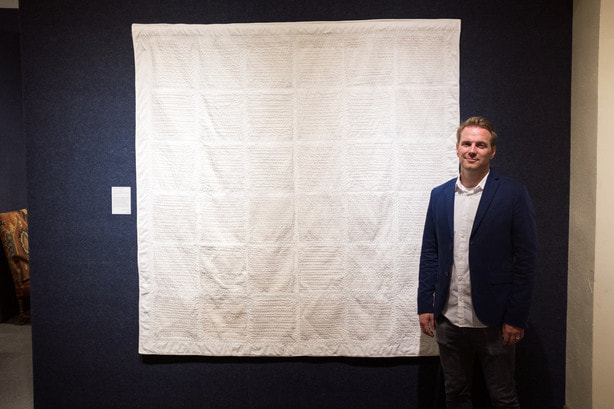
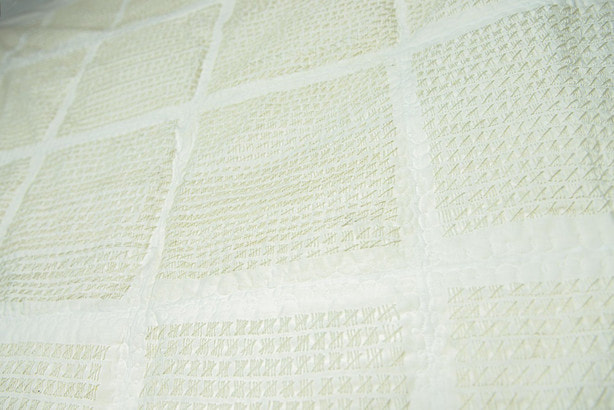
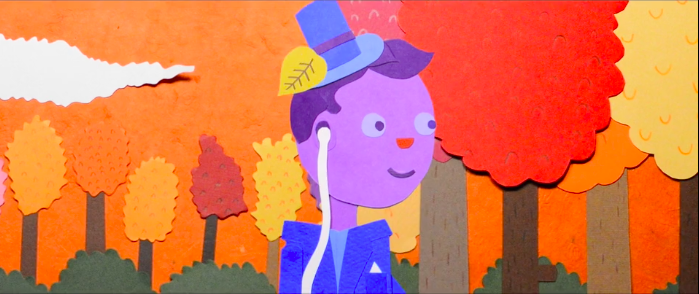
Loneliness // Simple game with a serious message  Scratch // Take a look at the site we will be using to develop our own games. Look at games other people have created & brainstorm what narratives, settings, & actions you can use in your own game  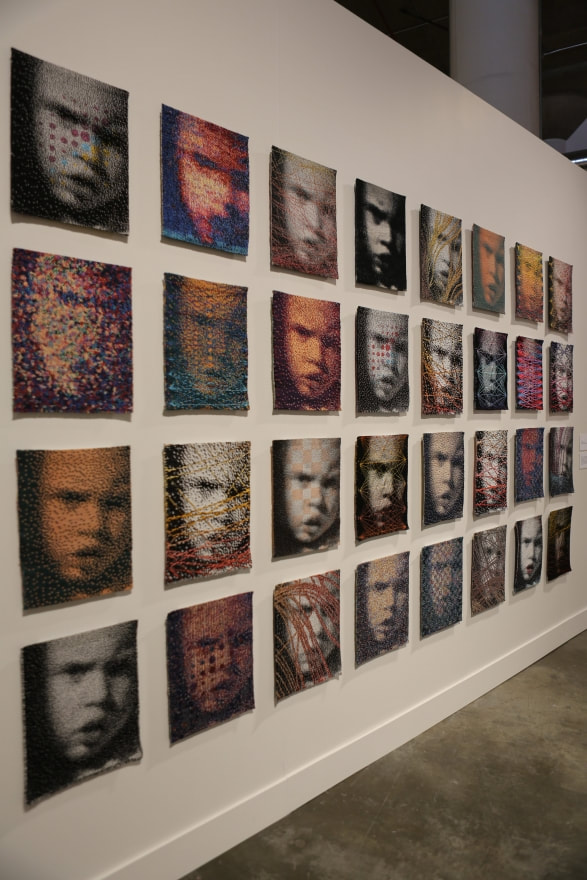 Jethro Gillespie, Interview ' This quilt represents hours of contemplative, repetitive action. A subtle, white on white collection of registered time and attention. ...Paradoxically, the tally marks also hearken to my experience of enduring prison, confinement, or a feeling of isolation that exist in my life, in large part because of my covenants. This site of accumulation and energy inherently accounts for a focus on process that also forms a product that is ultimately made to offer comfort.' 
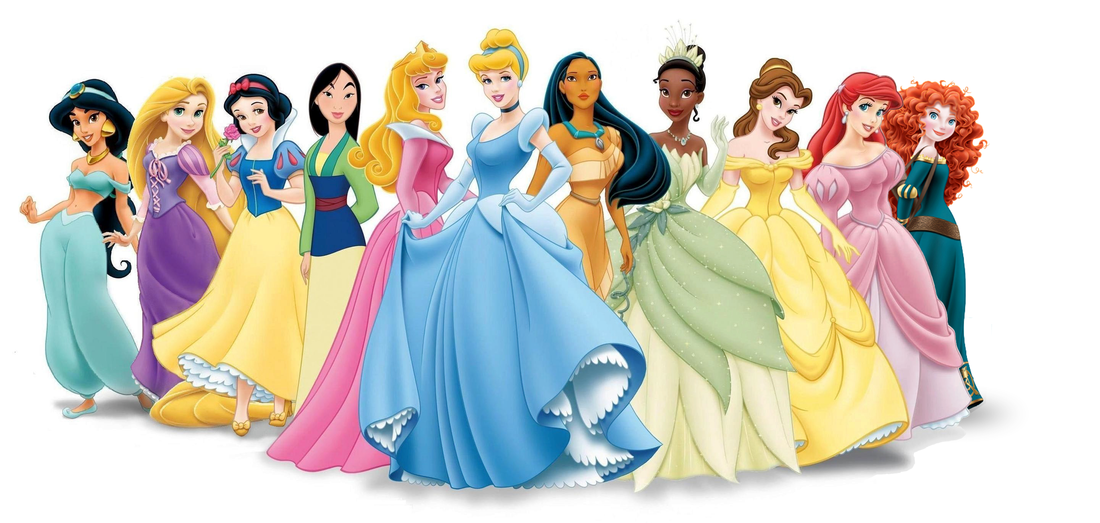
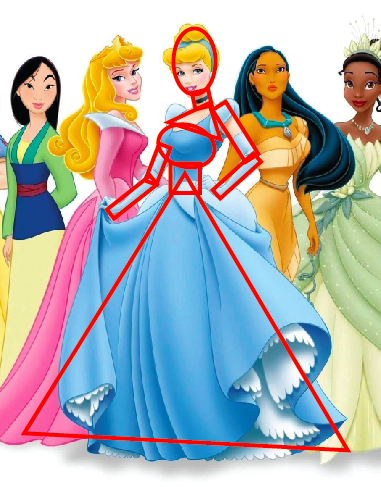
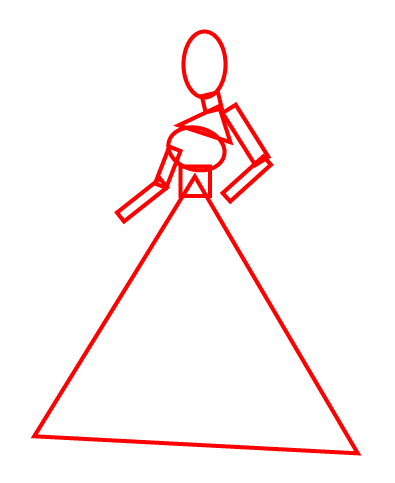
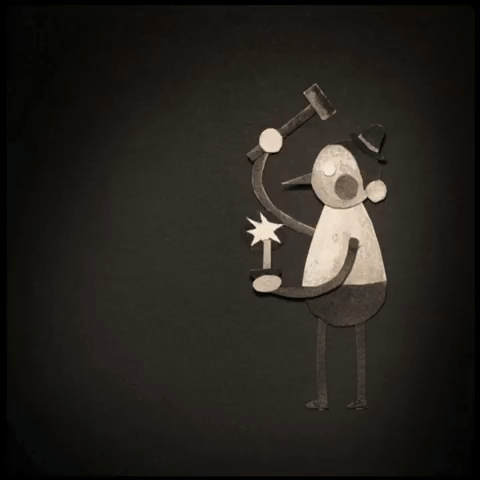
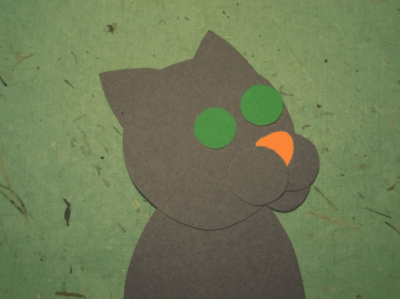
Tom Gauld If you are having a hard time developing your own character, start with designing a 'archetype' character and then slowly giving that character more complex traits & nuance. 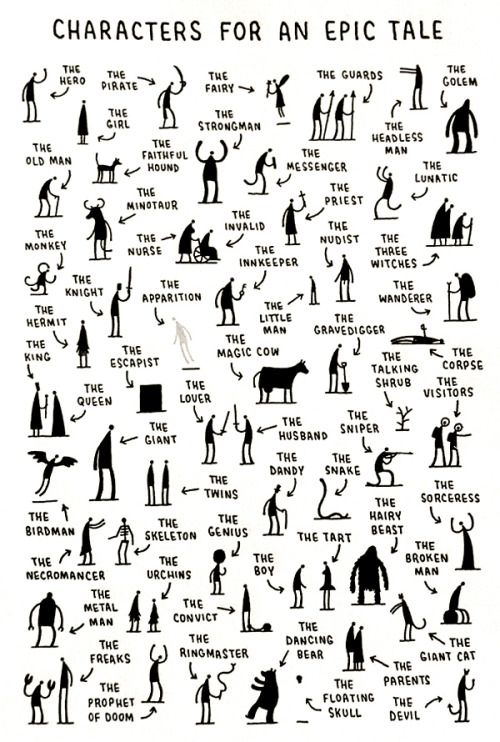  Still stuck? Consider answering these questions about your character & consider how that might affect their appearance, physical movement, & behavior. Where did this character come from? How did they come to exist? Did anything interesting happen in their past? Where do they live? What is their job? Who are their parents? How did their parents decide on their name? Does this character have a nickname? What is their favorite color? What is their favorite food? WHEN IN DOUBT, RESEARCH IT OUT! Curious about a character that is a bear? Look up pictures of bears, read about bear behaviors, think like a bear. To get a better sense of what shapes & elements make up characters we will be breaking down characters we are familiar with. In addition to breaking up 7-10 characters in your sketchbook, you also have to option to recreate characters using the color paper we painted. 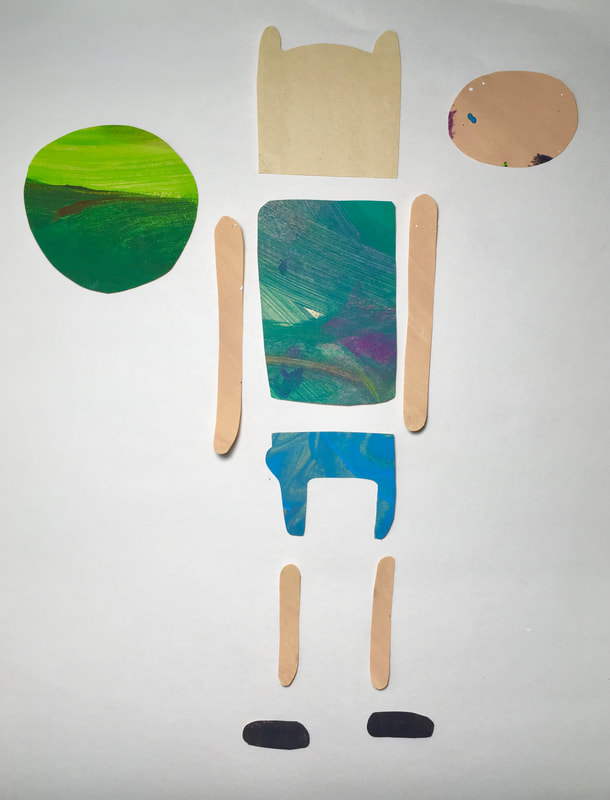 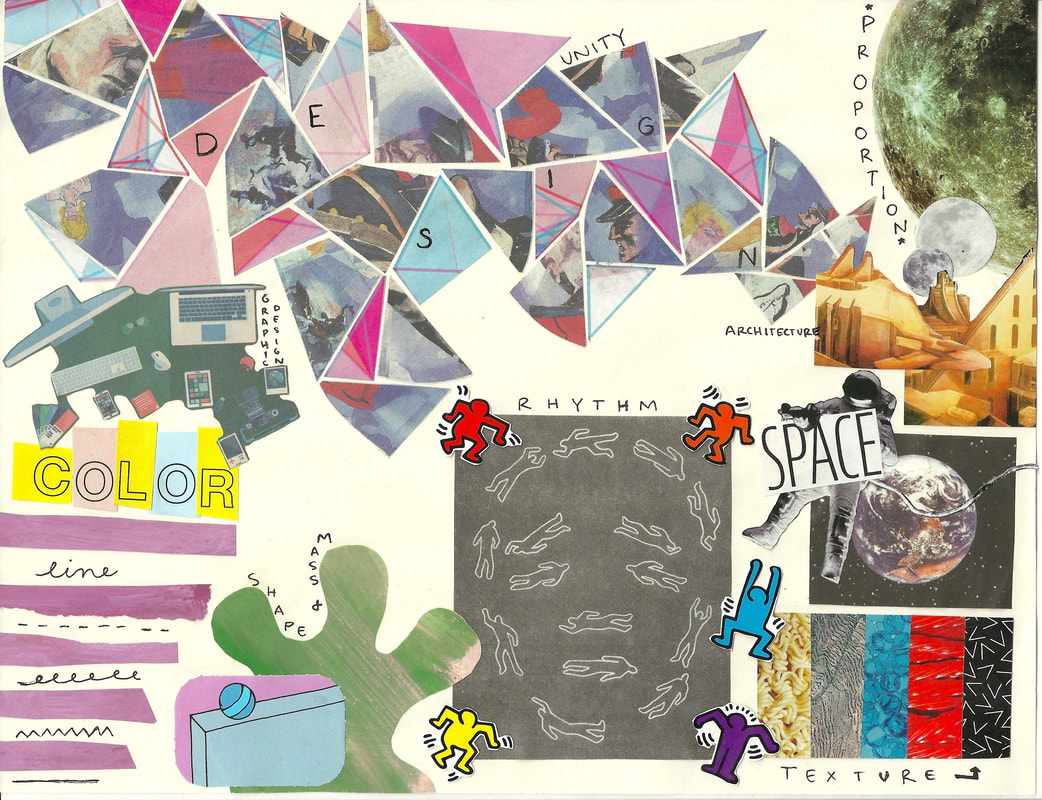 Some vocabulary words you will need to know for your test at the end of the course are: LINE VALUE FORM TEXTURE SPACE COLOR SHAPE UNITY//CONTRAST BALANCE CONTRAST RHYTHM//REPETITION MOVEMENT SCALE//PROPORTION EMPHASIS 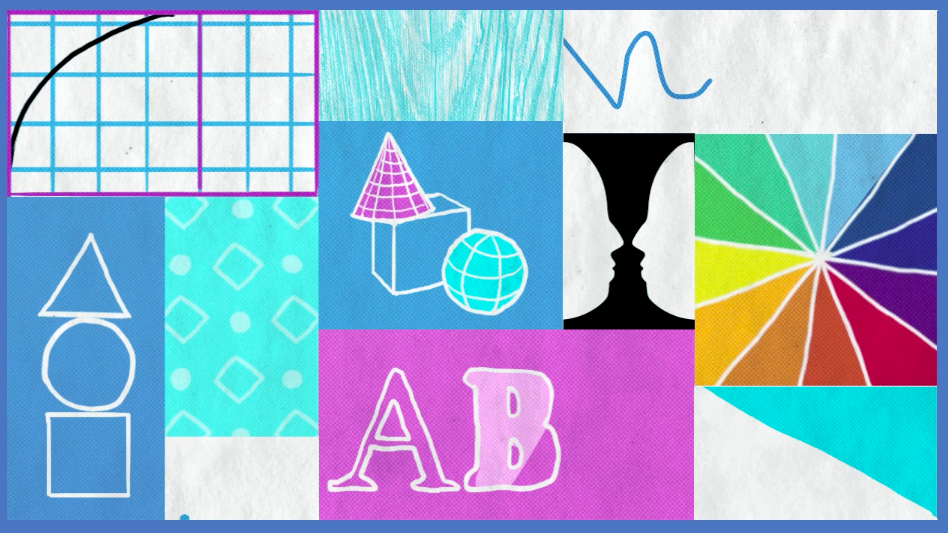 Also just so I know how things are going with Adobe Illustrator I'd love for you to take this brief survey.
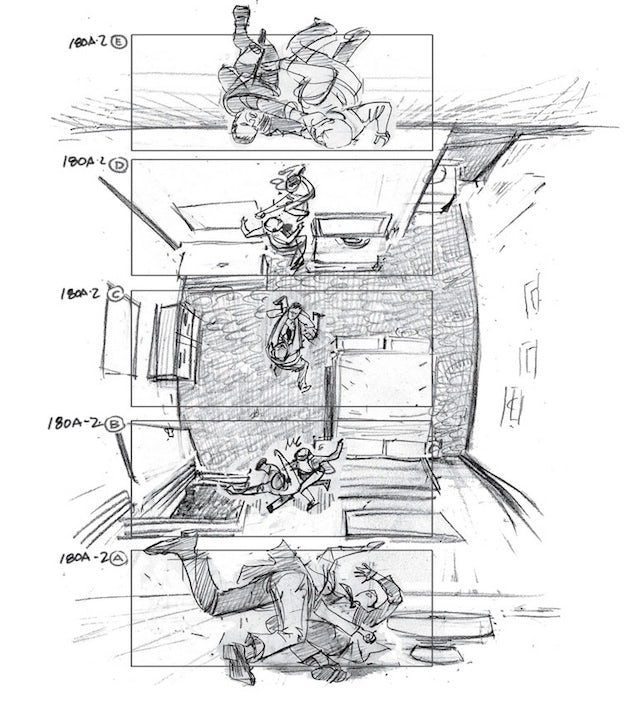
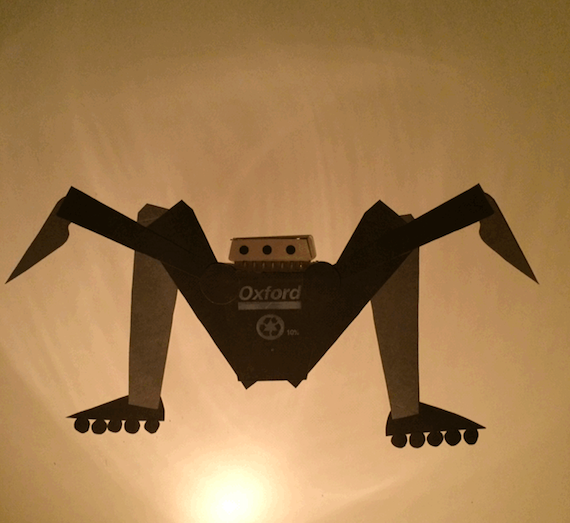
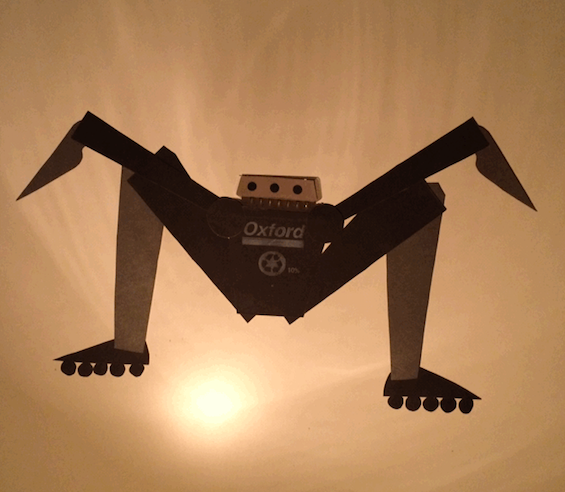
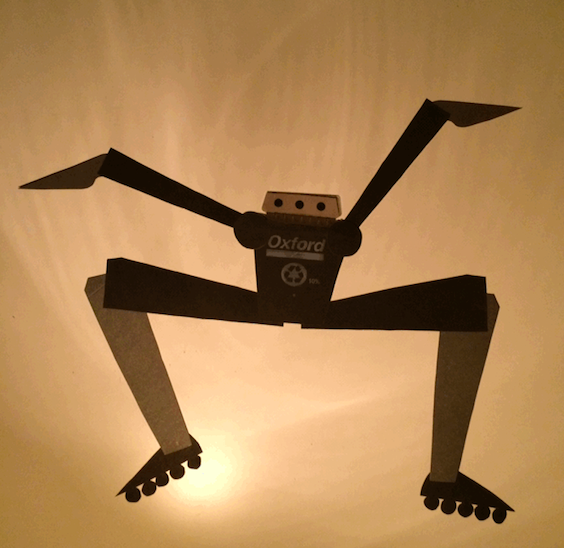
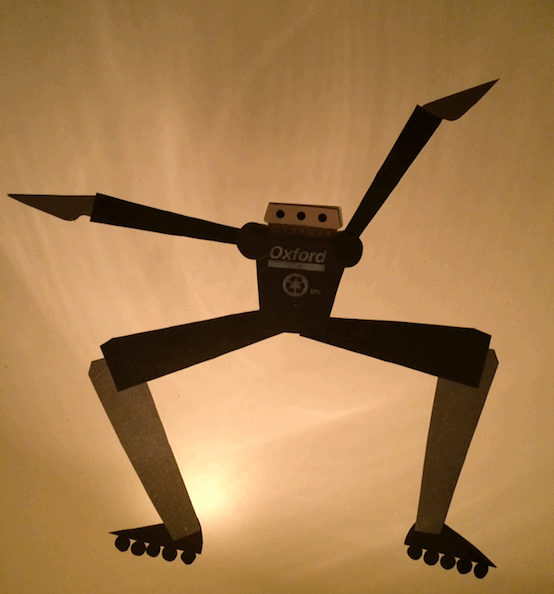
Today we will be using our hinged paper creatures to be create short gifs. Gifs are ultimately just a small collection of images that are played in a loop to show the illusion of motion.
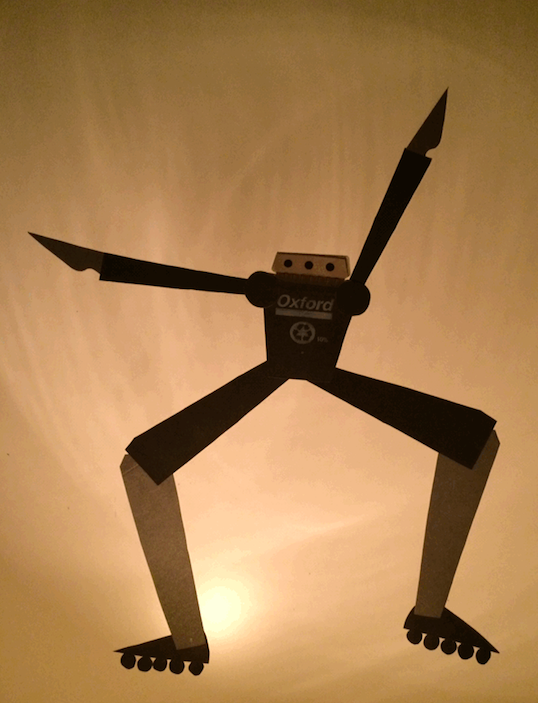
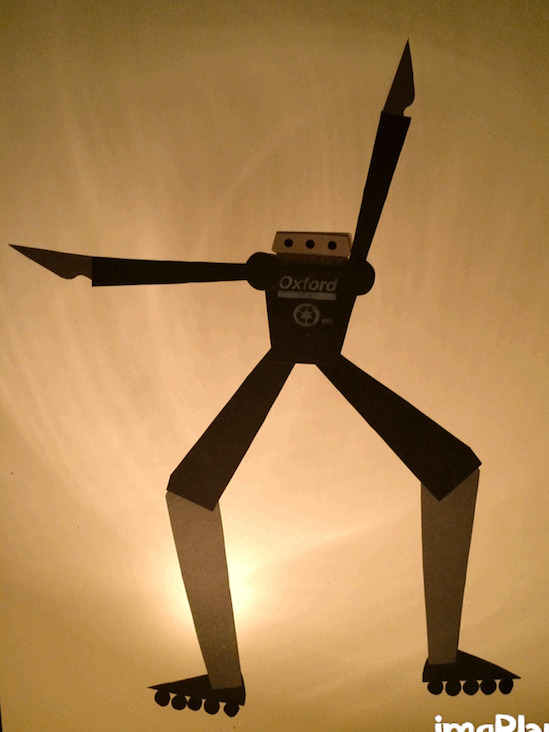
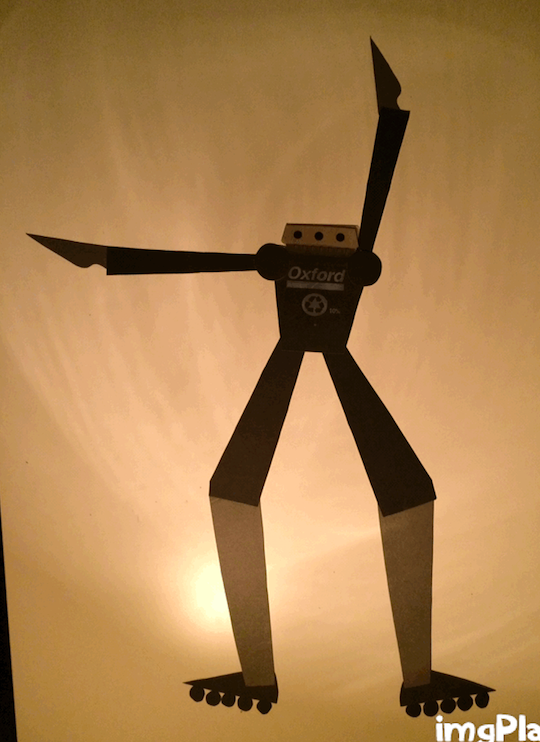
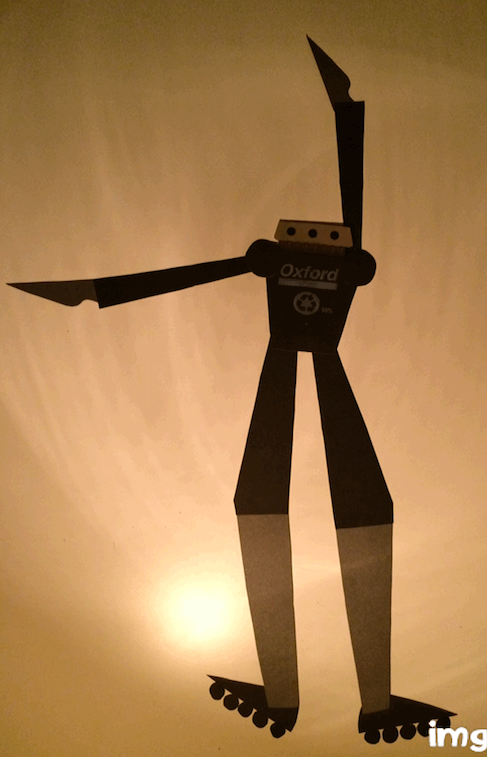
 When creating your gif, consider how fast you want your character to move, what action do you want your character to do, & whether you want your two characters to interact with each other or each be on their own. Also try to keep you camera in the same spot, while taking your photos to create a consistency between each image. Later we will also be working with lights to create a consistent look as well. The lighting in the images below is a good example of what NOT to do. Your gif will need to have a minimum of 15 photos in it & be a minimum of 15 seconds long. Completed gifs will be uploaded to Canvas before the end of class for a quick preview of the possibilities of animation.
|
ARtist, teacher, EXPLORERJust a girl exploring the world, looking at cool art, & thinking up lesson plans Archives
August 2022
Categories
All
|
E L L E N O G I LV I E


 RSS Feed
